Garage Door Opener Installation Process
Step 1 — Consultation
We start by understanding your door type, usage requirements, and budget. We ask the right questions upfront so the opener we recommend is the right fit from day one — not a compromise that causes problems later.
Step 2 — Door Inspection
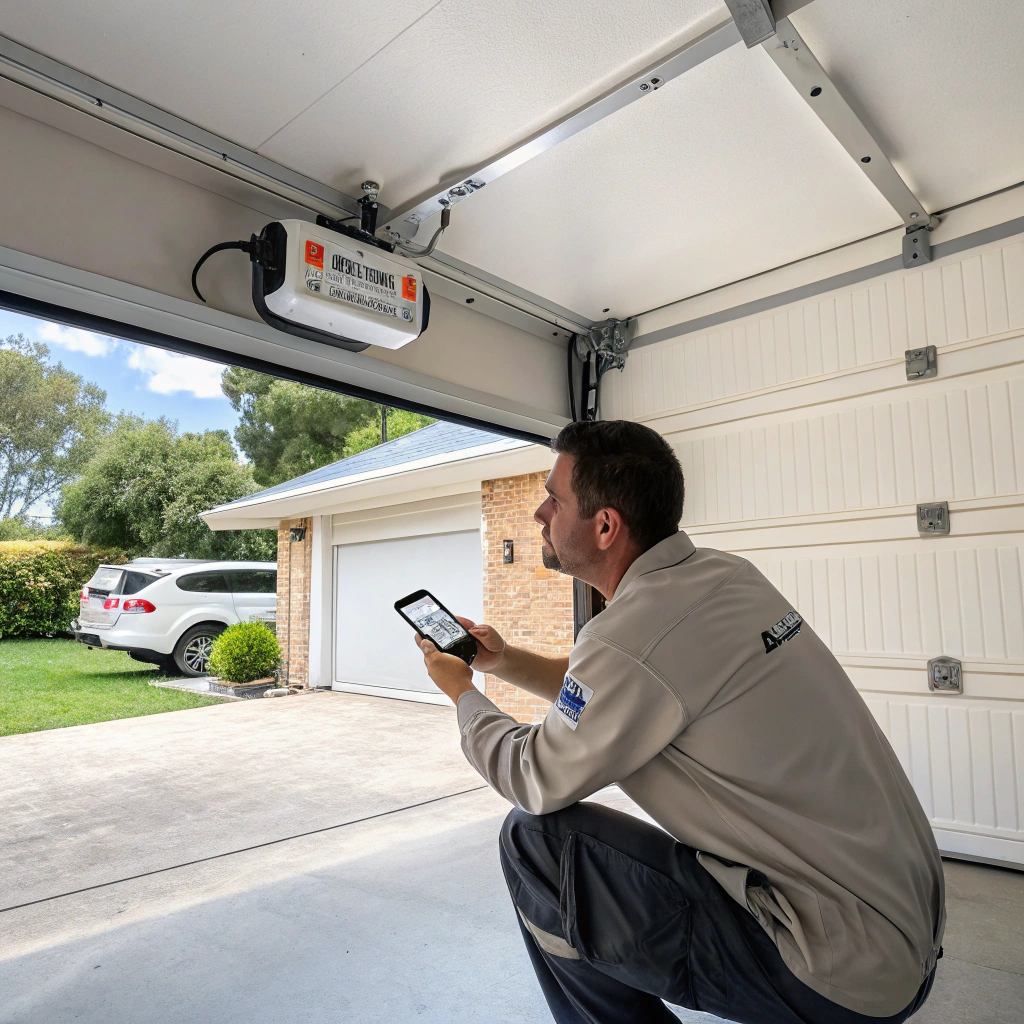
Before any opener is ordered or installed, we inspect your garage door. We check the balance, the hardware, the condition of the springs and cables, and whether the door is mechanically ready to be automated. If anything needs attention first, we tell you clearly and quote accordingly.
Step 3 — Removal of Existing Opener
If there is an existing opener in place, we remove it safely and dispose of it for you. We check for any legacy wiring or hardware that may affect the new installation before we proceed.
Step 4 — Installation
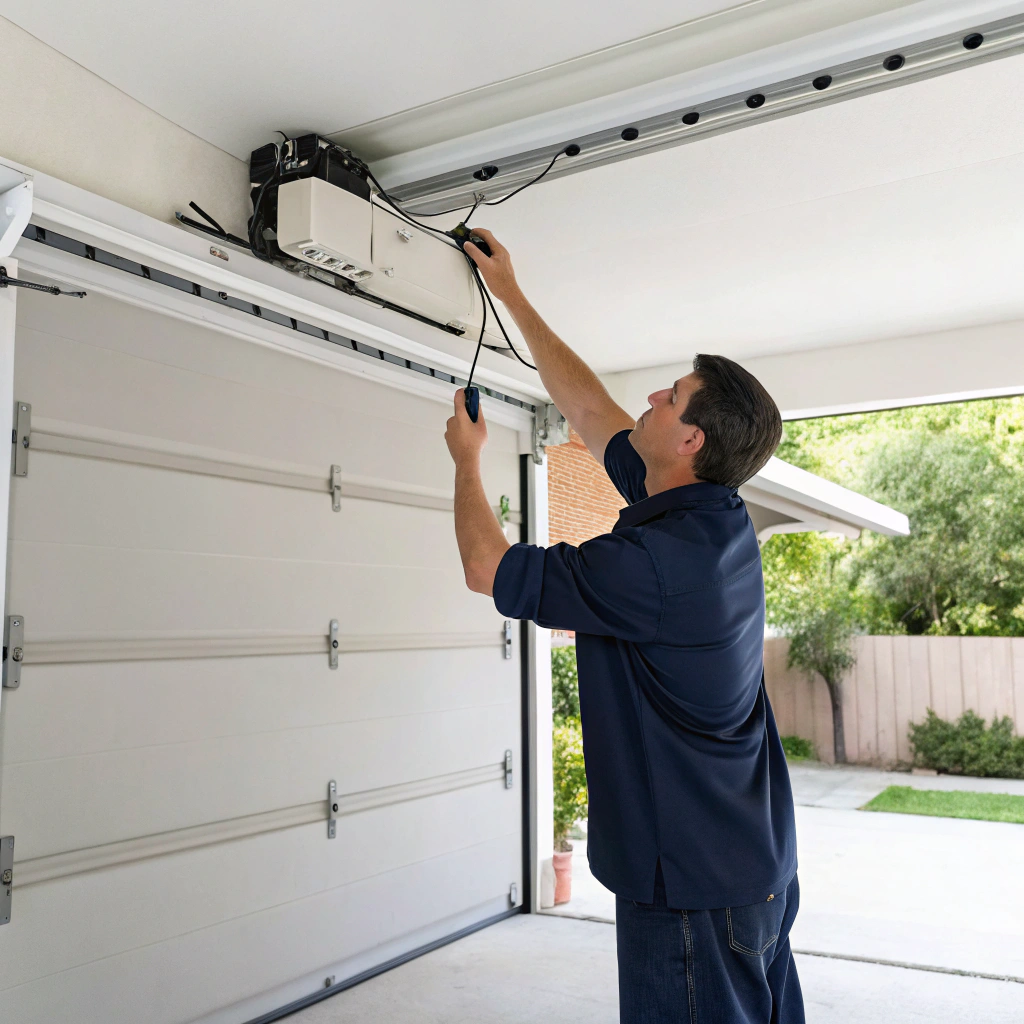
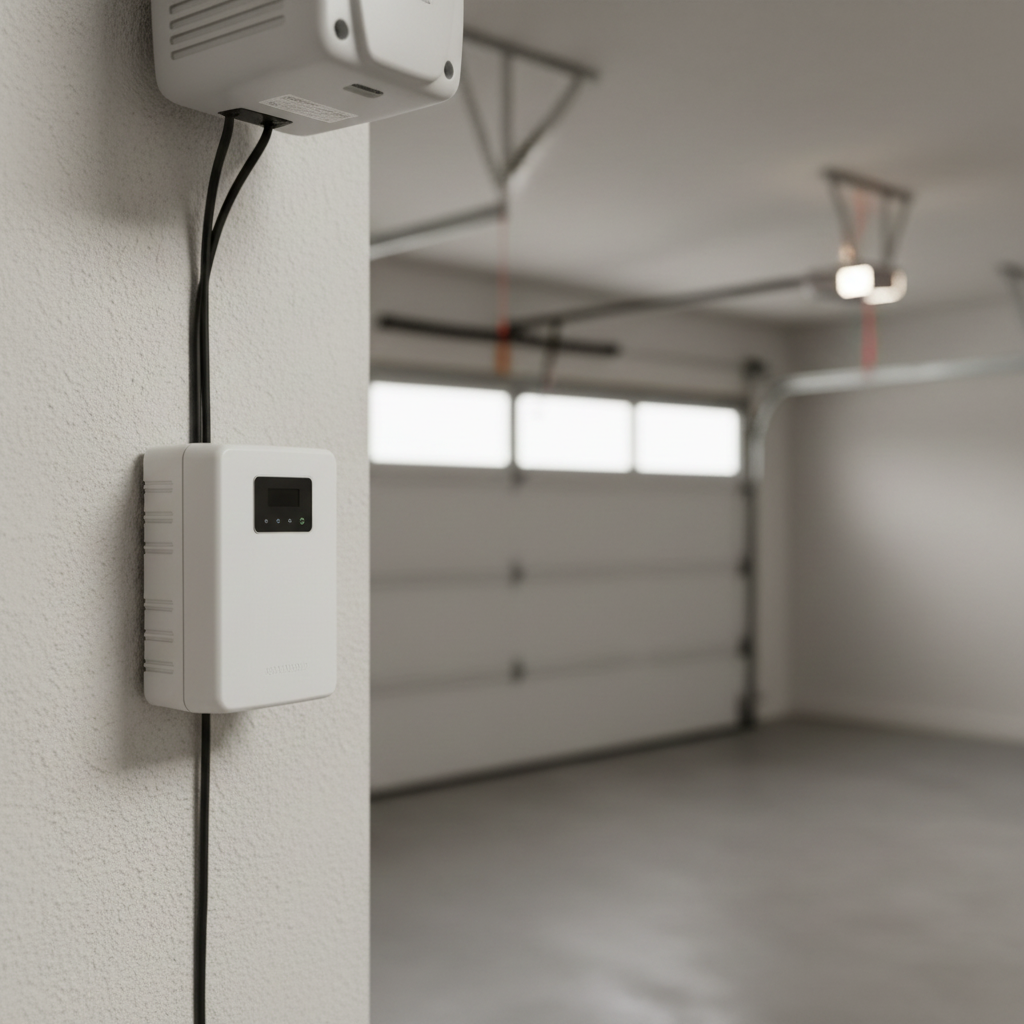
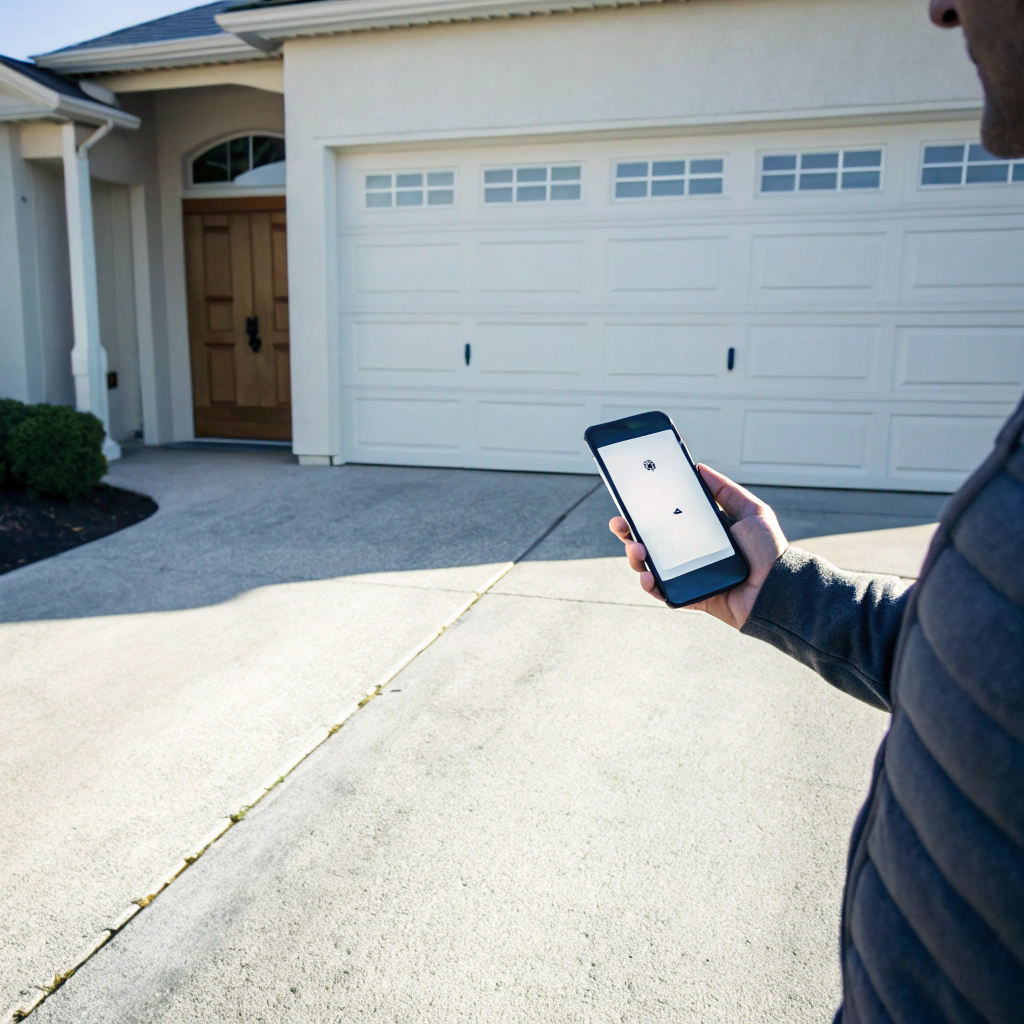
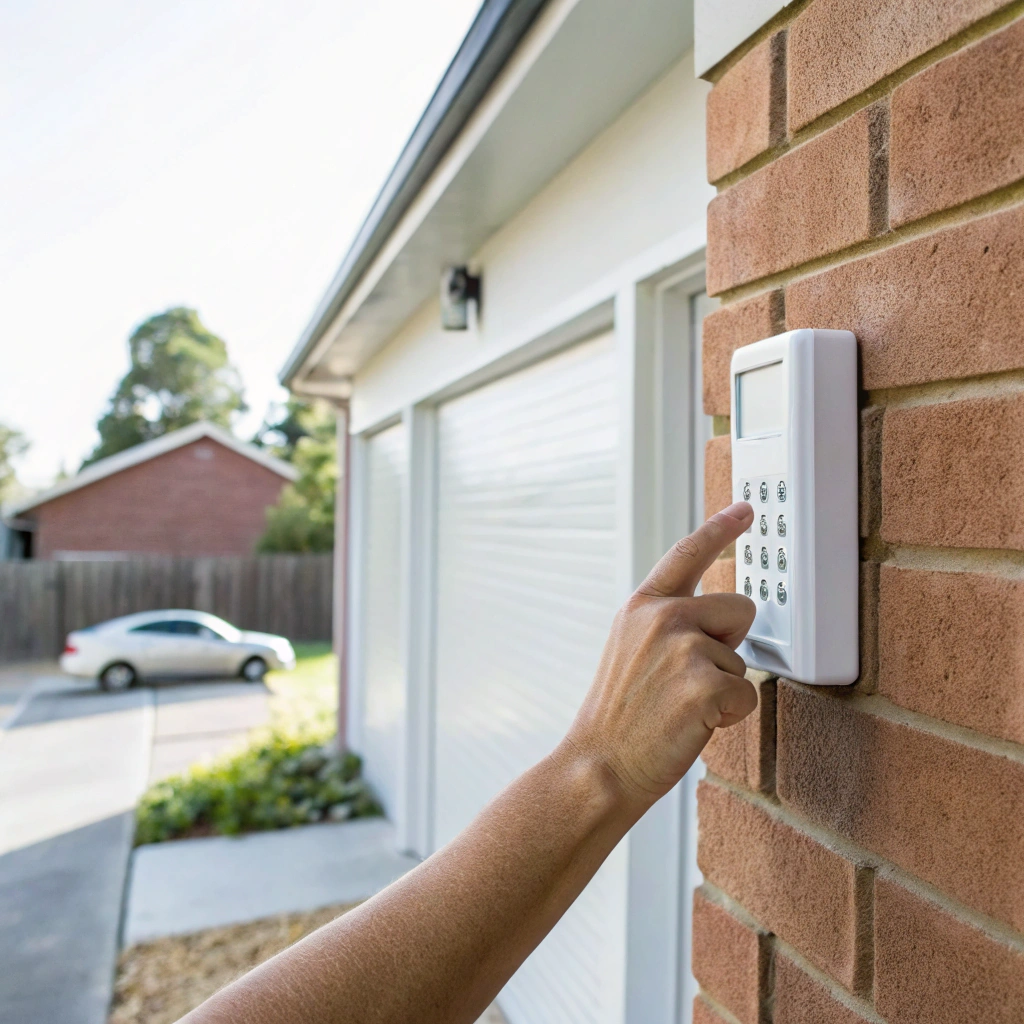
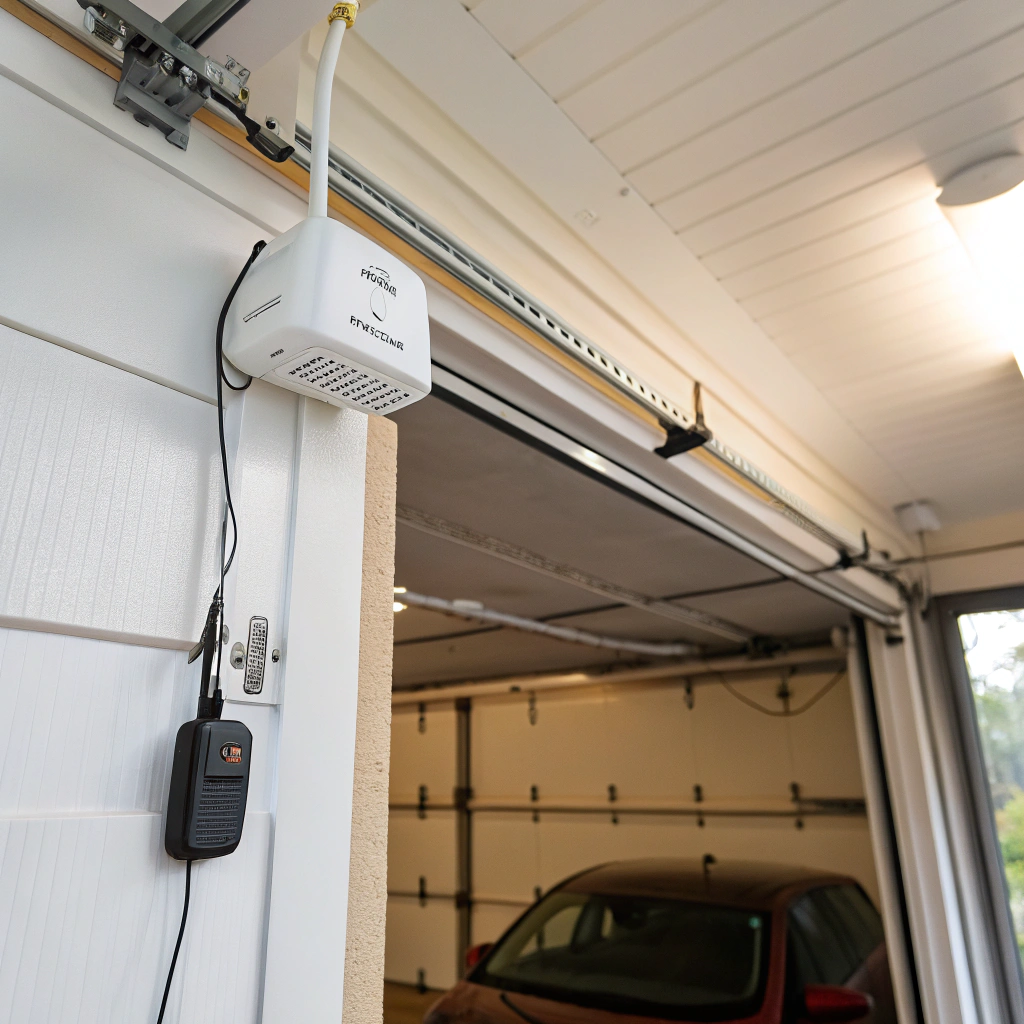
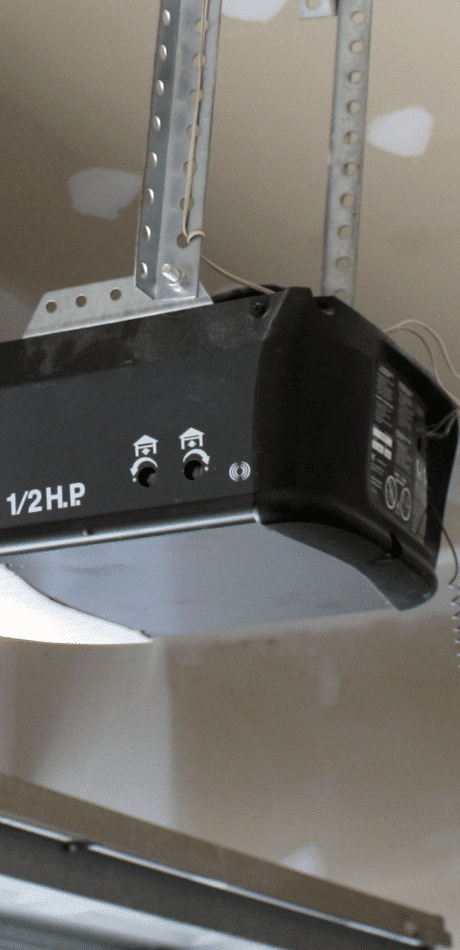
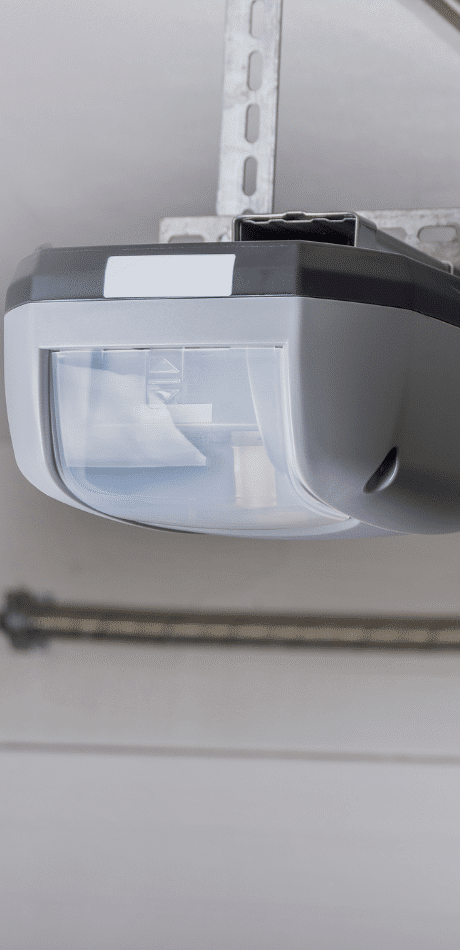
We assemble the new opener unit, mount it correctly — ceiling or wall depending on the drive type — install the rail or drive system, wire the opener to the power source, fit the safety sensors, and pair all control accessories including remotes, keypads, and any smart app connections.
Step 5 — Testing and Safety Checks
Once installed, we run the door through a full cycle test. We check the auto-reverse function, the safety beam sensors, the manual emergency release, and confirm the opener operates smoothly across the full travel range of the door. We do not sign off until everything performs correctly.
Step 6 — Handover and Training
We walk you through how to operate the opener, explain routine maintenance, and hand over the warranty documentation and written operating instructions. You will leave knowing exactly how the system works and what to do if you ever have a question.
Step 7 — Site Cleanup
We leave your garage clean and clear. All packaging, old hardware, and waste is removed from site. The workspace is left the way we found it.